
Manage customers in choPOS
Your WooCommerce customers, searchable and editable from the till.
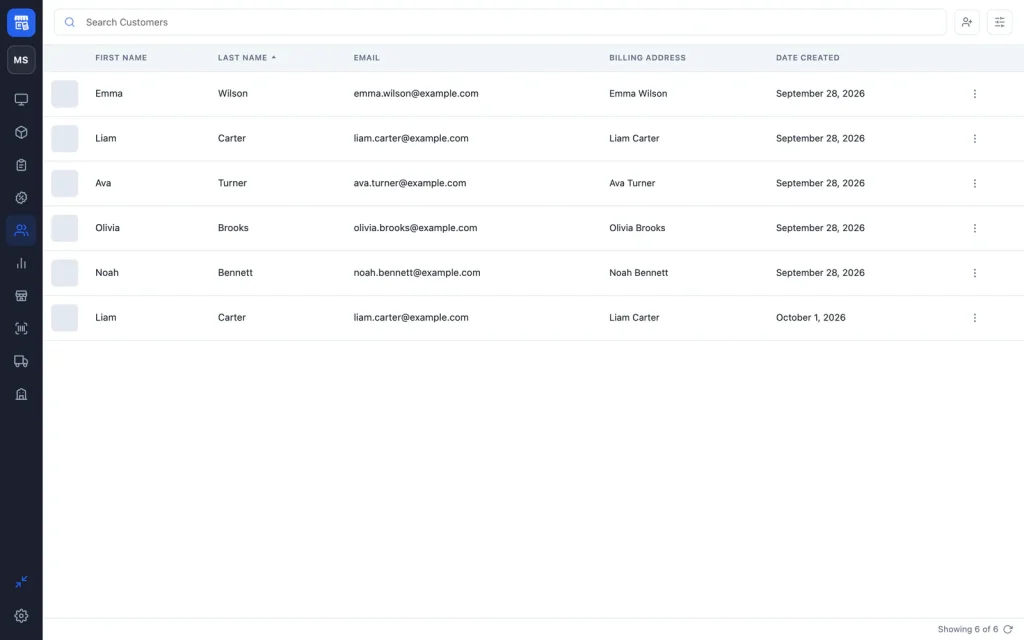
The choPOS Customers screen lists your WooCommerce customers and lets managers search, add, edit and delete them from the POS. Cashiers can attach a customer to any sale, or create one at the till, so in-store and online orders build one customer history.
Find a customer
Click Customers in the sidebar (managers only) and use Search Customers. Click a column heading to sort by name, email, username or date. The Customer Settings button picks which columns show.
Add a customer
- Click Add Customer.
- Enter first name, last name and email (required). The username defaults to the email.
- Add billing and shipping addresses and any tax IDs if you need them.
- Click Save.
choPOS creates a WooCommerce customer account with a generated password, and WooCommerce sends its usual new account email if you have it turned on. Cashiers can also add customers from the cart; see Carts and discounts.
Edit or delete a customer
Choose Edit from a customer’s menu to change their name, email, password, addresses or tax IDs. Choose Delete to remove the account; their past orders stay, as guest orders. Only accounts with just the Customer role can be deleted here, and you need the WordPress permission to edit or delete users.
Set a default customer
In Settings → General, Default Customer is chosen for every new cart. Turn on Default Customer is Cashier to put sales on the signed-in cashier’s own account, which is handy for staff purchases.
With choPOS Pro, customers created in a store belong to that store’s list.