
How to install choPOS
Requirements, installation and the first things to check before you sell.
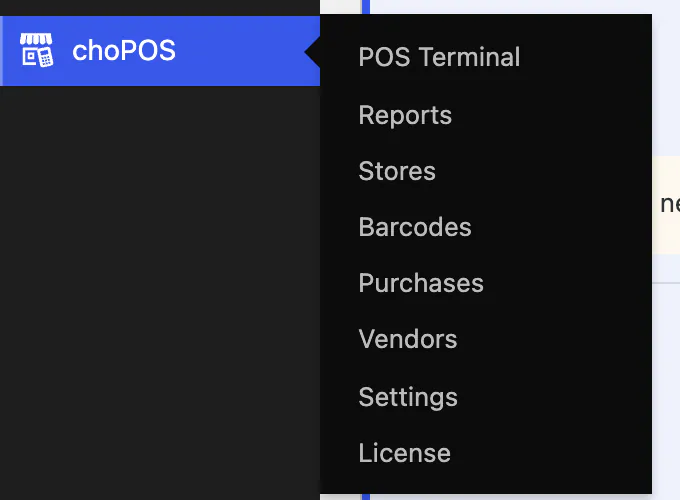
To install choPOS, install and activate WooCommerce, go to Plugins → Add New in WordPress, search for “choPOS”, then click Install Now and Activate. A new choPOS menu appears in the admin sidebar. Open choPOS → POS Terminal to start selling.
System requirements
choPOS runs on your own WordPress site. There is no separate app to install and no external service to sign up for.
| Requirement | Minimum version |
|---|---|
| WordPress | 6.6 |
| PHP | 7.4 |
| WooCommerce | 7.0 (tested up to 10.4) |
| Browser on the till | A current version of Chrome, Edge, Firefox or Safari |
The till needs a connection to your site to load products and save orders. choPOS does not have an offline mode.
Install choPOS from WordPress.org
- Make sure WooCommerce is installed and active.
- In your WordPress dashboard, go to Plugins → Add New.
- Search for choPOS.
- Click Install Now on “choPOS – Point Of Sale (POS) for WooCommerce”, then click Activate.
Prefer to upload it yourself? Download the zip from the choPOS page on WordPress.org, then go to Plugins → Add New → Upload Plugin.
If WooCommerce is missing or inactive, choPOS shows the notice “choPOS requires WooCommerce to be installed and active.” and stays switched off until WooCommerce is running.
What activation sets up
When you activate choPOS it:
- adds the choPOS menu with POS Terminal, Reports, Settings and Free vs PRO;
- gives Administrators and Shop Managers full access to the POS (see Staff roles and permissions);
- adds two order statuses, “POS – Open” for carts that are not paid yet and “POS – Partial Payment” for part-paid orders.
Open the POS terminal
Go to choPOS → POS Terminal. The terminal loads your published WooCommerce products. You can also open it from the Open POS link under choPOS on the Plugins screen.
To hide the WordPress admin while you sell, click the Fullscreen button near the bottom of the dark sidebar. choPOS remembers this on the device. Press Esc or click Exit Fullscreen to leave. The POS screen guide explains every part of the terminal.
Check the settings copied from WooCommerce
The first time the terminal opens on a device, choPOS copies your WooCommerce store address, currency and tax settings. Before your first sale, open Settings (the gear at the bottom of the sidebar) and check:
- General: the store base address, which is used for tax, and the currency format;
- Tax: whether taxes are on and how prices are entered and shown;
- Printing: the default receipt template for your printer.
Terminal settings are saved on each device. Read Terminal settings for what each option does, and Taxes before you sell taxable products.
Next steps
- Make your first sale to see the whole flow end to end.
- Give your staff access with their own WordPress accounts.
- Connect a barcode scanner and a receipt printer.
- Selling from more than one location? Read about multiple stores in choPOS Pro.