
Use a barcode scanner with choPOS
USB, Bluetooth and camera scanning, how codes are matched, and how to test your scanner.
choPOS works with any USB or Bluetooth barcode scanner that types like a keyboard. Plug it in, open the POS terminal and scan: choPOS matches the code against the product SKU, then the choPOS Barcode field, and adds the product to the cart. You can also scan with the device camera in supported browsers.
Connect a scanner
- Plug in the USB scanner, or pair the Bluetooth scanner with the device in its system settings.
- Open choPOS → POS Terminal.
- Click somewhere empty on the screen so no text box is selected, then scan a product.
The product is added to the cart with a short “Added …” message. If you scan while the cursor is in the Search Products box, choPOS still treats it as a scan and clears the box.
Scanning works on the POS Terminal screen while no window is open over it.
How choPOS matches a barcode
- It looks for a product or variation whose SKU equals the code.
- If none matches, it looks at the Barcode field choPOS adds to products and variations.
A variation’s code adds that exact variation. A variable product’s own code opens a window to choose the variation. If nothing matches, choPOS shows “No product matches barcode …”.
Products that already have the maker’s barcode printed on them: put that number in the product’s Barcode field and keep your own SKU. Products with no barcode: create and print labels with choPOS Pro.
Set a product’s barcode
Open Products in the POS sidebar. Edit the Barcode column inline, or click Edit on a product and fill in Barcode. If you leave it empty, the SKU is used. See Products and stock.
Scan with the camera
Click Scan barcode next to the search box. The camera view opens under the filters and adds each product it reads. It uses the back camera on phones and tablets.
Camera scanning needs a browser with a built-in barcode reader (Chrome or Edge, for example) and a site that loads over HTTPS. Other browsers show a box where you can type or scan a code instead.
Tune and test your scanner
Open Settings → Barcode Scanning. These settings are saved on the device.
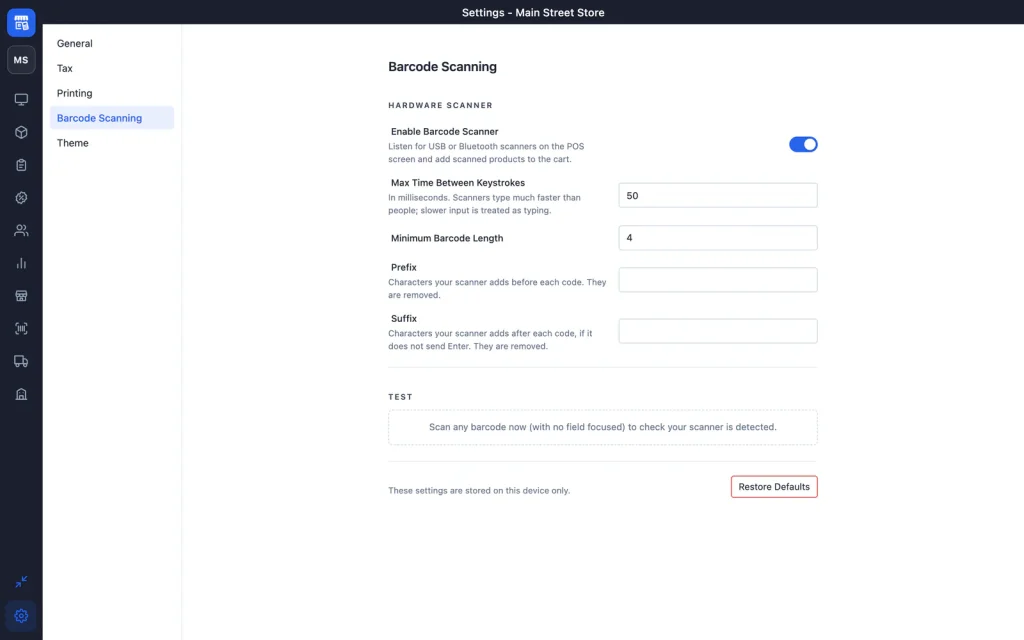
| Setting | What it does | Default |
|---|---|---|
| Enable Barcode Scanner | Listen for USB or Bluetooth scanners on the POS screen. | On |
| Max Time Between Keystrokes | In milliseconds. Faster input counts as a scan; slower input is treated as typing. | 50 |
| Minimum Barcode Length | Shorter codes are ignored. | 4 |
| Prefix | Characters your scanner adds before each code. They are removed. | Empty |
| Suffix | Characters your scanner adds after each code, if it does not send Enter. They are removed. | Empty |
Use the Test area at the bottom: scan any barcode with no field selected, and choPOS shows the code it read and the time. If nothing appears, raise Max Time Between Keystrokes to 100 or more; some Bluetooth scanners type more slowly.
For buying advice and setup tips, read our barcode scanner and receipt printer setup guide.